A Practical Guide to Water Heater Troubleshooting in Central Oregon
Discovering that your water heater suddenly stopped working is a major disruption to your day. However, before you assume you need an expensive replacement, it is worth taking a few minutes to evaluate the situation. Many common water heater problems stem from simple, correctable issues.
Here in Central Oregon, from Prineville to Bend and Redmond, our high desert water supply can also present some unique challenges to home plumbing systems. This guide provides a straightforward approach to water heater troubleshooting so you can identify the problem and determine whether it is a safe DIY fix or time to call a local professional.
Step 1: Analyze the Symptoms
To properly diagnose a water heater, look at how the system is behaving. Most issues fall into three categories.
Scenario A: The Water Is Completely Cold
When a water heater is not working at all, the issue is typically a total loss of power or fuel.
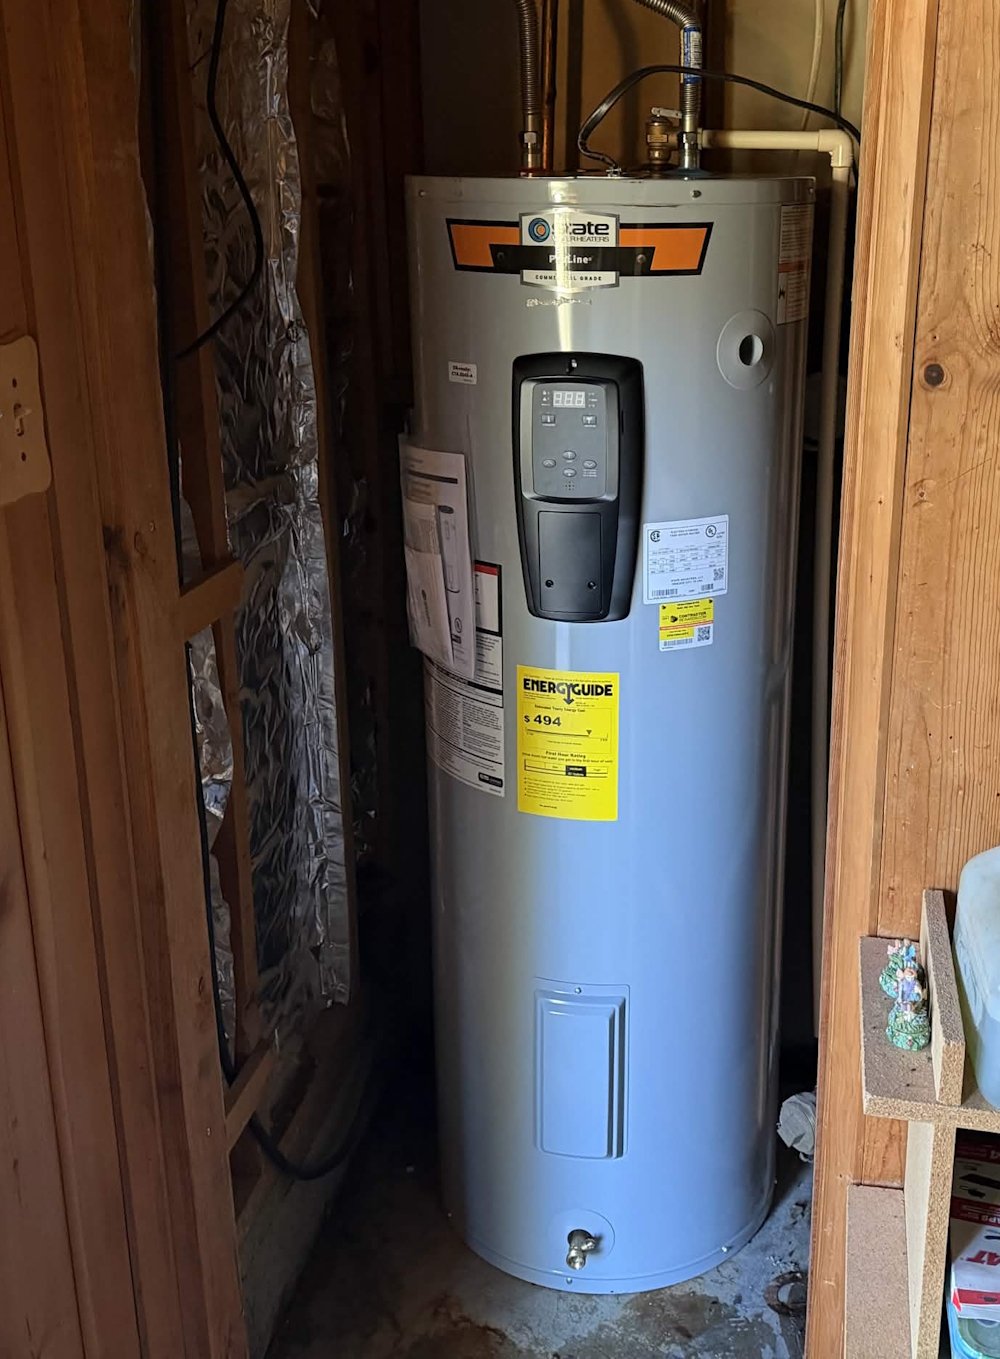
Electric water heaters: Check your home's main electrical panel. A tripped circuit breaker is the most common cause of sudden failure. If the breaker is on, the high-temperature limit switch on the heater itself may have tripped and just needs to be reset.
Gas water heaters: Check the pilot light. If it has gone out, the burner cannot ignite. Also, verify that the gas control valve is fully turned to the "ON" position.
Scenario B: You Have Lukewarm Water (Or It Runs Out Quickly)
If you have some hot water but it doesn't last, a specific component is likely failing.
Failing heating element (electric): Electric units rely on an upper and a lower heating element. If the lower element burns out, only the top portion of the water in the tank gets heated, drastically reducing your hot water supply.
Broken dip tube: The dip tube directs incoming cold water to the bottom of the tank to be heated. If this tube cracks or breaks, incoming cold water mixes directly with the hot water at the top of the tank, causing a lukewarm delivery.
Sediment accumulation: This is especially common in Crook and Deschutes counties. Minerals settle at the bottom of the tank over time. This layer acts as an insulator, blocking heat transfer from the burner or element to the water.
Homeowner tip: Beyond checking for a lukewarm temperature, diagnosing a failed element or a broken dip tube requires specialized tools and handling electrical circuitry. If you suspect either of these issues, it is best to have a professional technician verify the problem.
Scenario C: The Unit Is Making Noise or Leaking
Popping or rumbling sounds: This is a direct symptom of sediment buildup. Water becomes trapped beneath the mineral layer, boils, and bursts through, creating a distinct knocking sound.
Water pooling at the base: A small leak from the Temperature and Pressure (T&P) relief valve might simply indicate excessive pressure or a failing valve. However, water leaking directly from the bottom of the tank shell usually means internal corrosion, which requires replacing the unit.
Quick Reference: Troubleshooting Guide
Ice-Cold Water (No Hot Water at All)
Probable cause: Tripped breaker or an extinguished pilot light.
Recommended action: [DIY] Check your home’s electrical panel or attempt to safely relight the pilot light.
Rapidly Depleting Hot Water (Or Lukewarm Water)
Probable cause: A failed heating element or a broken internal dip tube.
Recommended action: [Call a Pro] This requires electrical continuity testing or internal component replacement.
Rumbling, Knocking, or Popping Noises
Probable cause: Heavy mineral and sediment buildup at the bottom of the tank.
Recommended action: [DIY / Pro] Drain and flush the water heater tank to clear out the accumulated Central Oregon scale.
Water Pooling Around the Base of the Tank
Probable cause: Internal tank corrosion or a failing safety valve.
Recommended action: [Call a Pro] Turn off the water supply valve immediately; the tank itself likely needs to be replaced.
Step 2: Safe Diagnosis Procedures
Safety notice: Before inspecting any internal components, always disconnect the power source. For electric models, turn off the correct breaker at the electrical panel. For gas models, turn the gas control valve to "OFF" or "PILOT."
Check the Thermostat
Confirm that the thermostat is set between 120°F and 140°F. Settings below this range will cause a noticeable hot water problem, while settings above it can lead to accidental scalding.
Test the Heating Elements
If you suspect an electric element has failed, you can test it using a digital multimeter. A reading of infinity indicates a broken circuit, meaning the element needs to be replaced. Call a pro if you are not comfortable testing this.
Flush the Tank (Highly Recommended for Central Oregon)
Because our regional groundwater can carry distinct mineral loads, annual flushing is crucial. Attach a standard garden hose to the drain valve at the base of the unit. Run the hose to a floor drain or outside your home, and flush the tank until the discharging water runs completely clear of sediment. Get a pro on the phone if you are not sure how to accomplish the flush.
Knowing When to Call a Licensed Plumber in Prineville
An honest hot water heater diagnosis means recognizing the limits of DIY repair. You should bypass troubleshooting and call a professional technician if:
The storage tank itself is leaking or rusted through.
You smell gas near the unit (in this case, leave the premises immediately and contact your gas utility provider).
The troubleshooting steps point to faulty internal wiring or complex gas valve mechanisms.
Taking a systematic approach to these problems can save you a rushed emergency service call and help you communicate clearly with a local technician if a professional repair is required.